Mark out is called in for your yard before digging begins. Any underground lines, such as gas, water, and electric are marked out.
Step 2: Pool Layout
Our Construction Manager meets with home owner to finalize pool position in the yard and goes over all the details of the construction process. After this meeting you will be notified of your dig date.
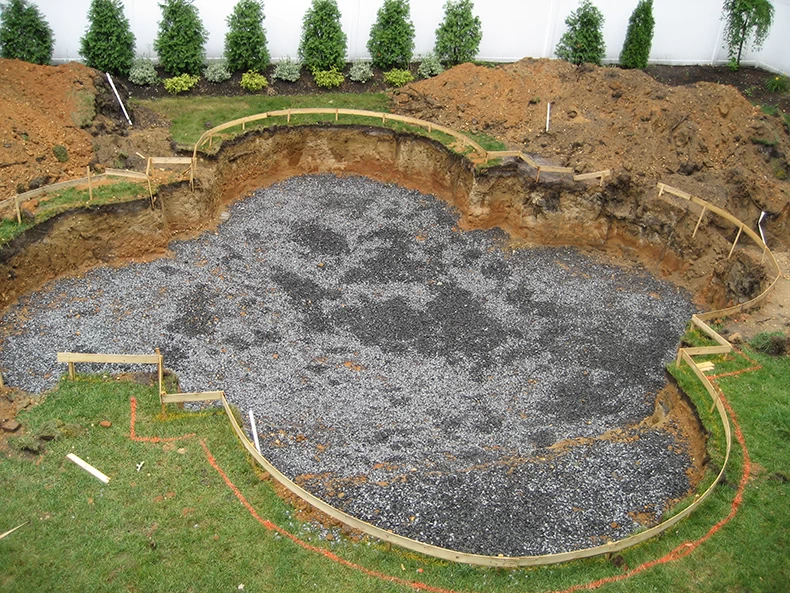
Step 3: Dig
The pool is framed out with wood and rebar to follow the design. We also stone bed the entire floor with 3/4″ stone to give an extra base for the next 2 steps.
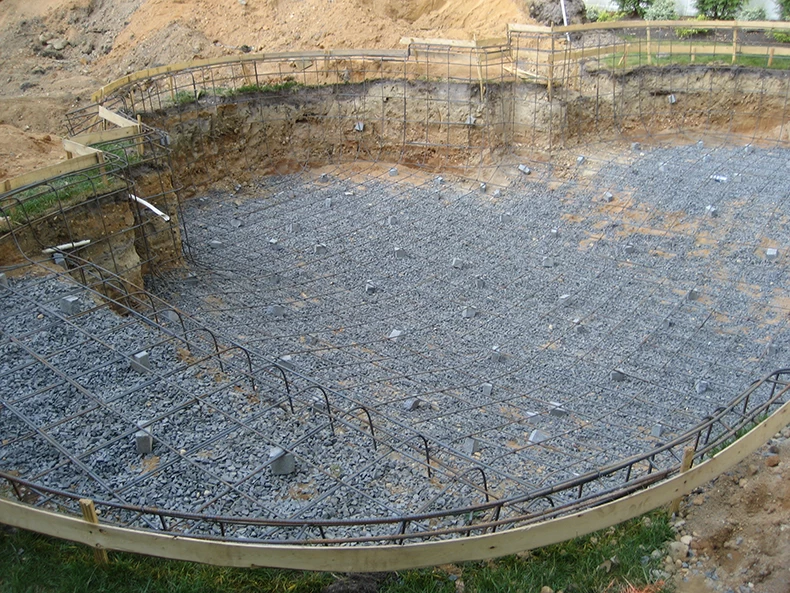
Step 4: Steel Installation
After the dig we install reinforced 3/8” #3 steel throughout the entire pool. There are bricks installed underneath the steel throughout the pool, we do this so the steel will be in the middle of the gunite when the pool is shot.
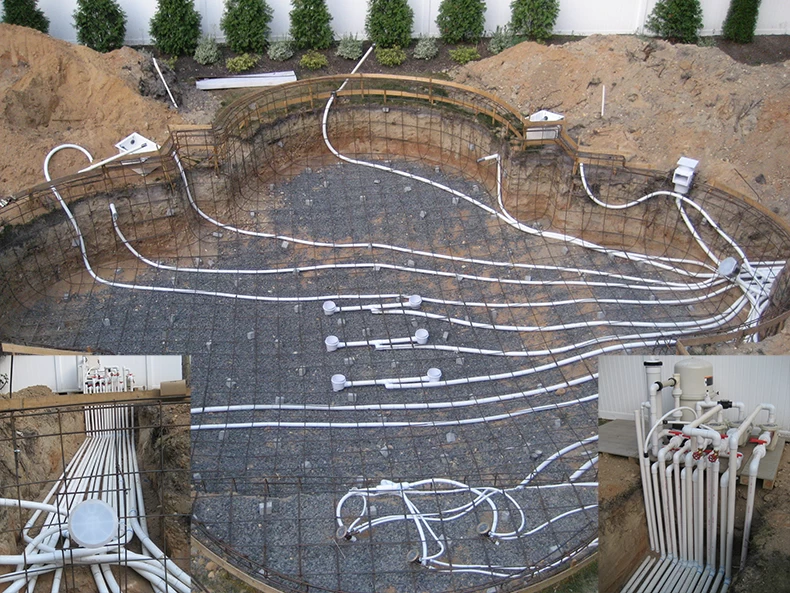
Step 5: Plumbing
Our pool plumbing design consists of 2” and 1 ½” scheduled 40 PVC. All our suction lines use 2” PVC. (skimmers and main drains) Our suctions lines are all separate valve controlled lines. We use 2” on our suction lines so we don’t have issues with will have greater water flow (gallons per minute.) Using 2” lines will allow you to pull water from 1 separate line without cavitation occurring. Cavitation of a line is when the pump is not getting enough water due to under sizing the pipe.
Our return lines are all plumbed with 1 ½” PVC pipe. We do this to assure proper water pressure back to the pool. All return lines are separate valve controlled lines. One of the reasons we separate all our lines is so you can control your own water flow and for any service issues that may occur. If you tee lines together you have a hard time isolating any leaks that may occur, basically if one return line is leaking and you have 2 others tied together in the same loop all 3 lines have to be shut down for repairs. An independent plumbed line can be shut down without affecting any other line. A lot better for the customer and the service person.
We plumb our filter systems with all 2” pvc. This increases the flow rate through the system giving maximum pressure. 2” plumbing will eliminate back pressure in the system that can cause pump and filter issues. Our filter design is easy friendly to the home owner. Every system is built in our warehouse first where we have full control of building the perfect system. We install our plumbing different than most companies. All our lines are installed directly in the gunite shell, where it is protected, less chance for unforeseen accidents to harm the lines. Doing it this way increases flow rate, because we use less fittings and less pipe, a more direct route from pool to filter.
Step 6: Gunite Shell
Gunite is the concrete shell of the pool. GUNITE is a dry mix of sand and cement blown through a hose, water is added at the nozzle. As the material comes out, you have complete control over the water content, you can make it as dry or wet as you want. You add just enough water to make the material sticky (MUCH less water than a normal, if you tried to pump this material, you would probably blow up your pump. The material is moving at a high rate of speed as it comes out of the hose, the trickle of water doesn’t even slow it down. Resulting in a higher PSI application, packing material tighter than Shotcrete another type of concrete application can. Since you can make this material as dry as you want, you can achieve the strongest known form of concrete. Our shell has a 12” thick bond beam (top of pool wall) and goes to a 6” thick floor.
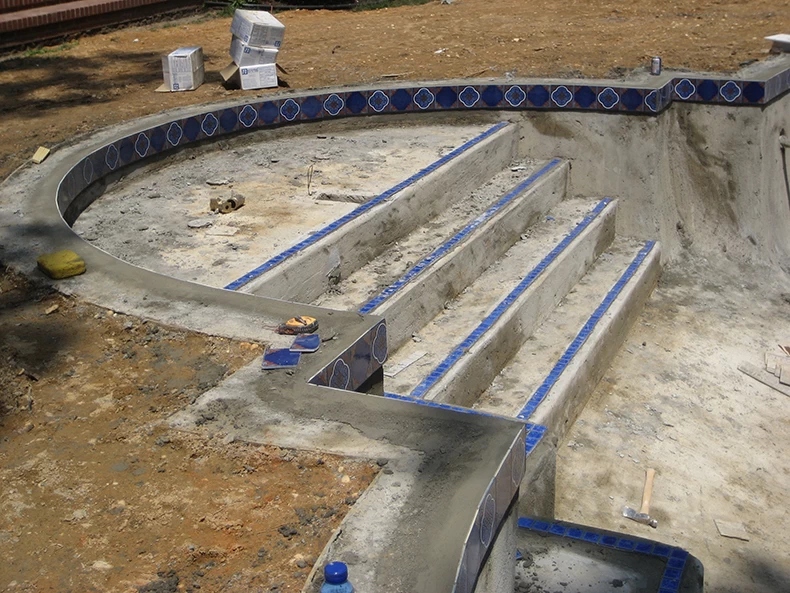
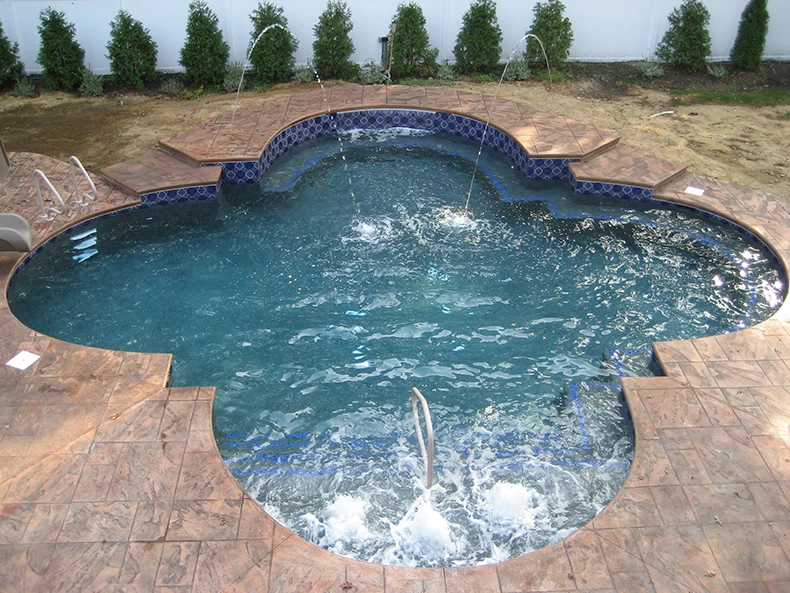
Step 7: Tile & Coping
All our pools have a 6” border of ceramic tile installed around the perimeter. There is a wide selection of tile that you can choose from. We also accent our steps and benches with tile so you can distinguish where they are. You have several choices of pool coping that can be installed. Coping is the finished product that rests on the top of the gunite bond beam. Some examples are concrete cantilever, brick or stone. We give you a choice of concrete bullnose cantilever, which is a foam form we install around the inside of the pool then we pour the concrete. After curing we remove the form and finish the inside edge to give it a clean, smooth finish. Your other choice is a paver bullnose brick. These 2 forms of coping are equal in price.
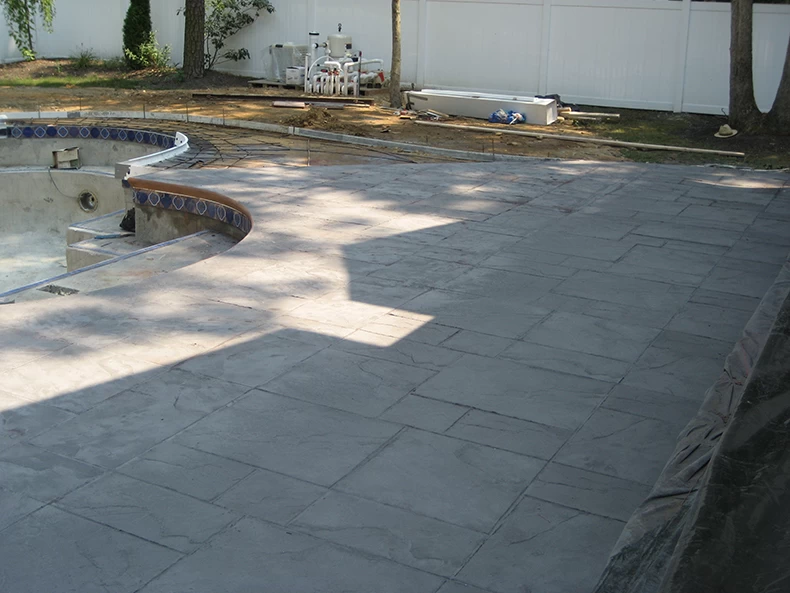
Step 8: Concrete Patio
Our concrete patio is poured at 4000 psi. We secure our patio with backfilling and using a tamped crushed stone base. We then use #3 rebar in a 2’ grid around the whole entire deck for extra strength. We do offer optional patio’s like Paver’s, stone and stamped concrete to fit into your style or budget.
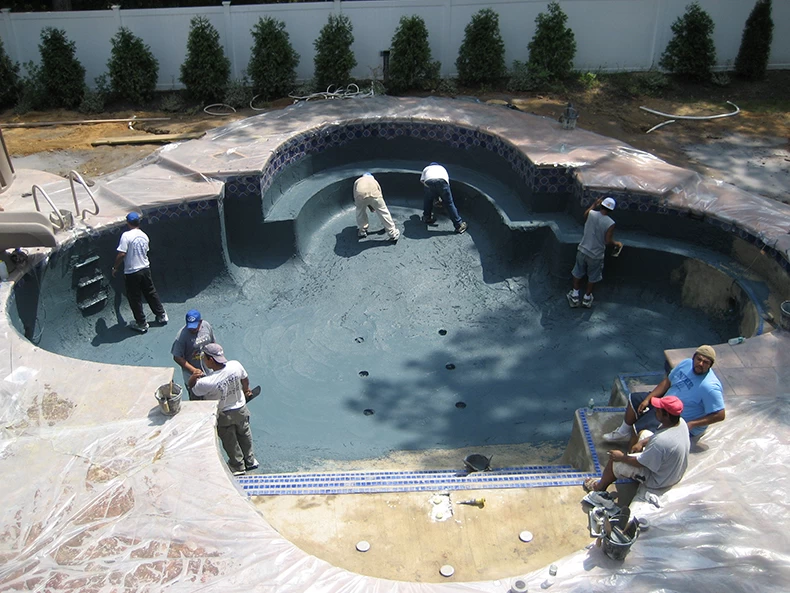
Step 9: Plaster
Plaster is basically the last step of the pool construction the finish product the interior sealed finish. Standard white plaster is the tried and true pool and spa surface finish. White plaster has been around as long as people have been building swimming pools and it remains a popular choice in spite of the myriad of choices that have come into the market in recent years. Its simple combination of white cement, white marble aggregate and water make for an economical choice that will give you that classic swimming pool look.
Strengths: When filled with water, pools and spas surfaced in white plaster create a brilliant, clean, light blue appearance that is very smooth to the touch. A long-time favorite for many customers, it remains the most affordable pool finish product on the market today. Standard white plaster is a reliable product when installed by a quality contractor and properly maintained. We also offer a variety of other interior finishes.